But, hoarding is not without its benefits. Like when I saved the excess fabric from making our headboard six years ago and I just used it to sew Lilly Kate's crib bedding. Free crib bedding! Or when I saved the scrap muslin fabric from making a crib skirt four years ago and just used it to create this adorable little dress!

See, sometimes hoarding pays off! (Especially when your husband puts you on a strict cash-only diet and you are forced to use up all the scrap fabric you have in order to stay on budget! I dedicate this blog post to you, honey.) All that to say, in my online quest for a cute and free dress/romper pattern, I came up short, so I decided to make my own. And being the generous person that I am, I've decided to share it with you here! Fellow fabric hoarders: rejoice! You can make this dress with less than a yard of fabric! Let's get started!
I typically don't like sewing apparel. It's usually a pain in the rear, requires notions like zippers and bias tape and elastic and snaps, you have to fuss over the fit, and, by the time I get done sewing it, I'm tired of it already. Well, my friends, not so with this pattern! Yes, it does require elastic and snaps for the romper, but those things aren't as complicated or expensive as I once thought. This pattern is for a dress or a romper. It is really simple. It's just a bunch of rectangles. If I can do it, you can do it!
What you need:
Pleated Bow Dress Pattern found here (this pattern is for 3-6 months)
1 yard of fabric (you will have leftover fabric, so if you want, you can make little bloomers to go with the dress, or, you know, hoard save it for that hexagon quilt)
3/8" elastic
1/4" elastic and a snap kit (for romper only)
2 buttons (optional)
thread
scissors
air/water soluble fabric pen or fabric chalk
sewing machine
Step 1: Wash and dry your fabric. Print sewing pattern and tape together as shown.
Step 2: Cut fabric. Be sure to iron your fabric and be mindful of the folds. You are cutting your fabric for the body of the dress/romper on, not one, but two folds. Also, make your marks on the fabric for the pleats and for the casing (and the single mark for the romper if you are making a romper) using an air/water soluble fabric pen or fabric chalk. Be sure to mark all layers of the fabric!
 |
| See how the cut piece is folded over both on the left and the bottom? |
 |
| Unfolded once... |
 |
| Unfolded twice. This is one of the two pieces you will be cutting for the body of the dress/romper. |
Step 3: With right sides together, sew along both edges of the length of the fabric using a standard 5/8" seam allowance.
 |
| Sew where I drew the black lines. |
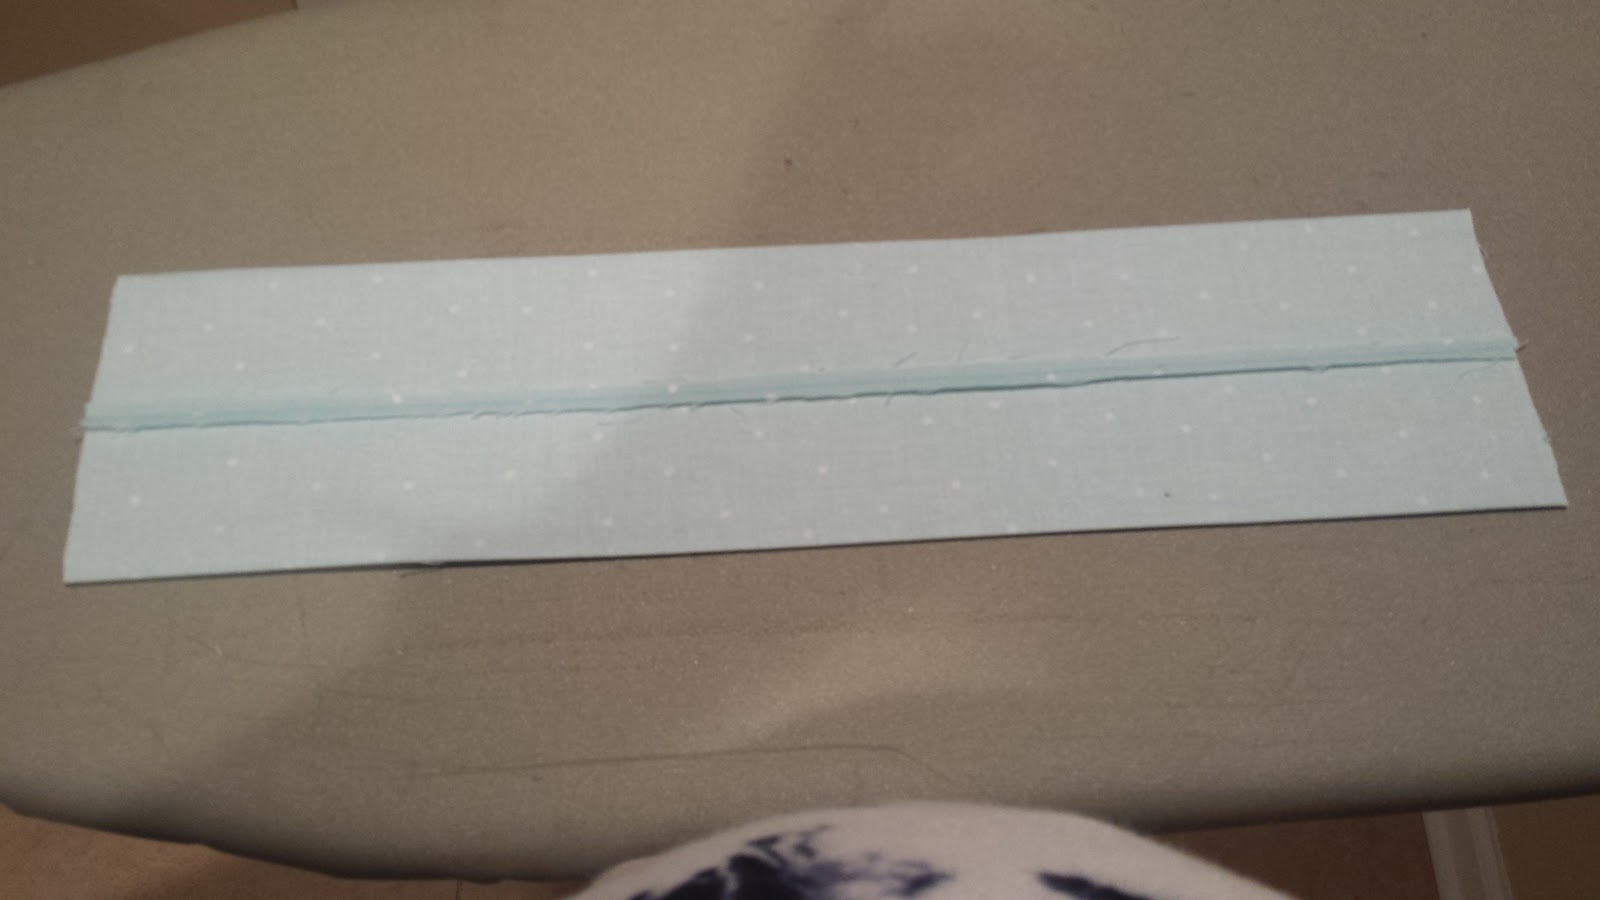
Step 4: Then, press your seams open, like so:

Step 5: So now you have a long ugly tube. Fold the tube onto itself so you have a short pretty tube!
 |
| View from the top of the dress. |
 |
| View from the bottom of the dress - Look, mom! It's already hemmed! |
Step 6: If you are making the romper, now is the time to sew your elastic for the leg holes and attach your snaps. If you are sewing the dress, skip this step and head to Step 7! Look at you go!
There are two ways I like to put the elastic in. I'll show you one way here, and another in step 11. I prefer the method in step 11, but both will work.
There are two ways I like to put the elastic in. I'll show you one way here, and another in step 11. I prefer the method in step 11, but both will work.
 |
| I placed pins marking where I wanted the snaps to begin and end. I did a 4" section for the crotch of the romper, but I think 3" is sufficient, so that is where I had you mark your fabric. If you want it to be 4", just adjust to accommodate. |
 |
| Mark and cut the 1/4" elastic at 6.5" |
 |
| You are going to insert the elastic into the inside of the tube where wrong sides are together. |
 |
| Stuff it all the way down to the fold and pin the elastic to the fabric just on the end where you had your pin. |


Once you have pinned the fabric, sew the casing as shown. Be sure to secure the elastic by stitching over it a few times on the ends where you have pinned it to the fabric. Do NOT stitch through the elastic as you sew the casing. Only on the ends.

 |
| When you have finished, it should look something like this. |
After you have stitched the elastic on both sides, you can add your snaps...which are, well, a snap!

Step 7: Now it's time to finish the top! First, you will need to sew your straps. You should have 4 long strips of fabric. Place two strips right sides together and sew along three of the edges, leaving only one short end open so you can turn the fabric right side out. Be sure to back stitch as you start and finish. Do the same with the other two strips. Trim the excess fabric in the seam allowance to 1/4". Turn right side out and iron. While you are at it...go ahead and sew the shorter strips together in the same manner and set aside for the bow later.
Step 8: Sew a basting stitch around the top of the garment just to keep the fabric from shifting. (basically set your machine to the longest stitch you have and quickly stitch the two layers of fabric together around the top. NOT all four layers, you know...)
Step 9: Fold your pleats and iron those babies in place. Pin them and stitch them down with a basting stitch.

 |
| I added the snaps so that the fabric would fold in on both the front and back to add to the bubble look of the romper, but you can do it however you like. Just follow the directions on the package. |
Step 8: Sew a basting stitch around the top of the garment just to keep the fabric from shifting. (basically set your machine to the longest stitch you have and quickly stitch the two layers of fabric together around the top. NOT all four layers, you know...)
 |
| See the marks I made at the top of the fabric? Those are my marks for my pleats. |

Step 10: Pin your straps to the dress. Sorry, forgot to take a picture of this step because I actually forgot this step when making the romper. Whoops! Basically, making sure the romper is right side out, which it should be, pin the straps 2.25" out from the center of the pleats, lining the raw edge of the straps up with the raw edge of the dress. Baste them in place. They should be 4.5" apart.
Step 11: Make a casing for top of the dress. This dress only has elastic on the back side, but to finish the top, we are going to sew a casing all the way around. First, turn the dress/romper inside out. Then iron the raw edge down 1/2". Then fold it again and iron it down another 1/2". It should line up with the casing mark you made.


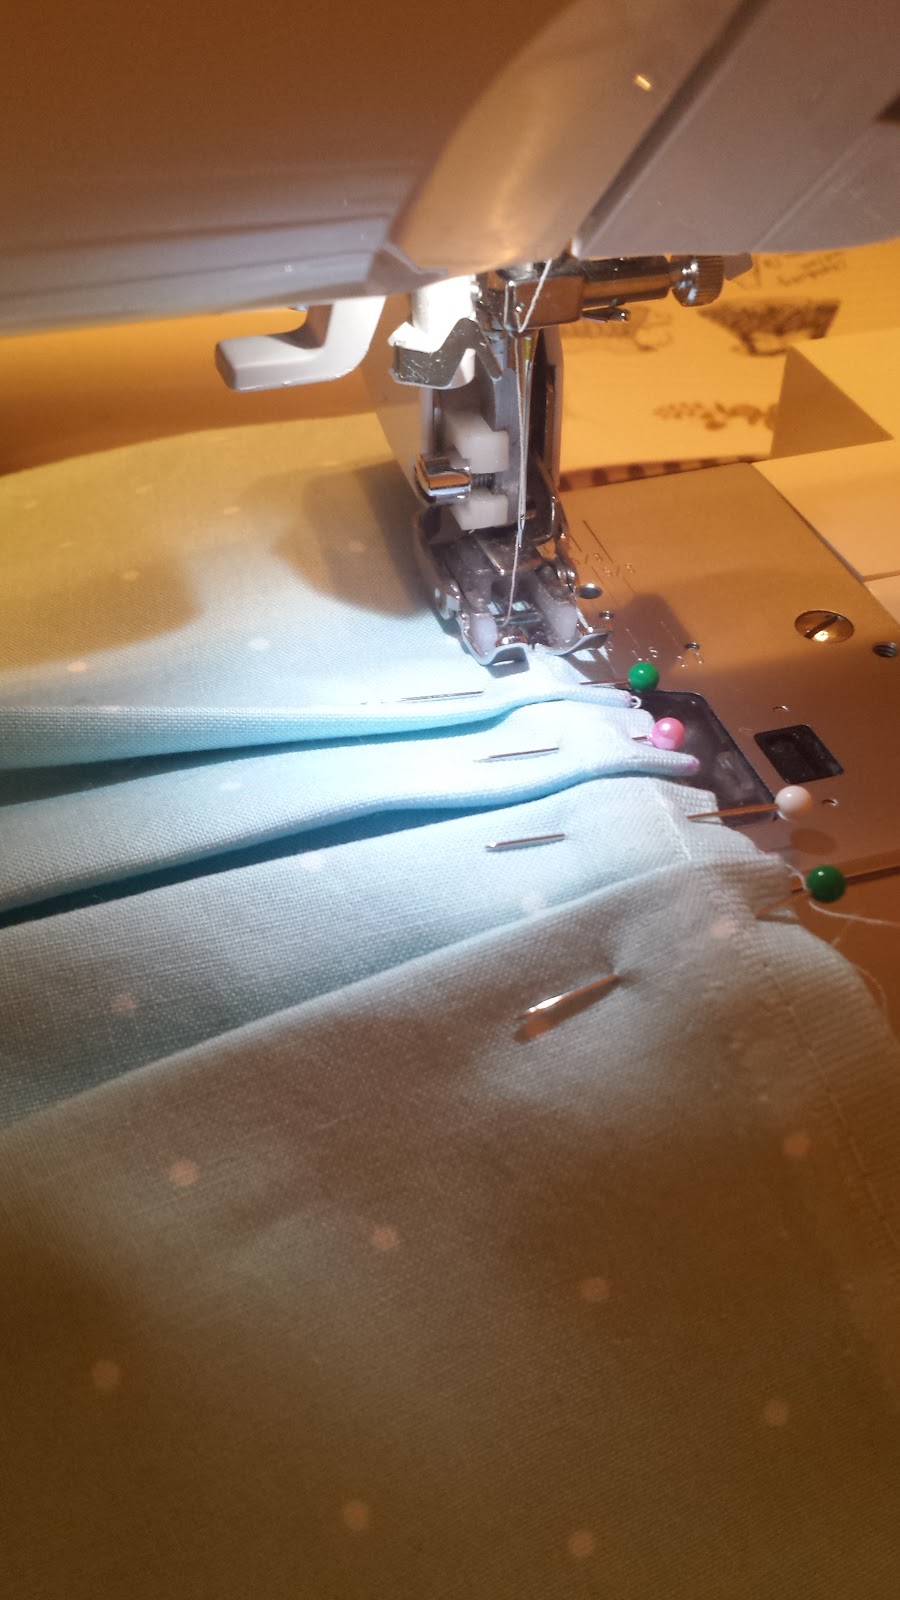
Here's the second method for inserting the elastic: Measure your 3/8" elastic, without stretching it, to 8" and make a mark, but don't cut it yet. At the side seam/back of the romper, you are going to insert your 3/8" elastic and tack the end down with a few stitches. Then sew along the edge of the fold to create the casing, keeping the elastic tucked up in the casing. When you get to the other side seam, pull the elastic taught until you reach the mark you made. Run a few stitches through the elastic and fabric at the 8" mark like you did in the beginning and cut the elastic. Continue sewing the casing around the front of the garment. Go slow through the pleats. It gets really thick around there and you don't want to break a needle! If you need to increase your stitch length you can.


As you can see in the picture above and to the right, I forgot to stitch in my straps before, so I went back and added them in there.
Step 12: Make a bow.
 |
| Cut out your fabric according to the pattern. |
 |
| Fold your fabric right sides together and sew along the long edge, backstitching as you start and end. |
 |
| Trim the seam allowance to 1/4". |
 |
| Iron your seam open, and with your fabric just like this, sew the ends, leaving a 2" opening on one end. |
 |
| Turn the fabric right side out and iron. |
 |
| Fold one end to the middle. |
 |
| Fold the other end to the middle, just overlapping the first. |
 |
| Stitch through both ends at the middle. |
 |
| the front |
 |
| Fold it up accordion style like so. |
 |
| Either run a few hand stitches in there to keep it in place or use fabri tac if you like, or just hold it together. |
 |
| Remember that smaller piece you made when you sewed the straps? Grab it, wrap it around the center of the bow and stitch it by hand in the back or glue it with fabri tac. I chose to stitch mine. |
Step 13: Attach the bow. I sewed my bow on by hand using the slip-stitch. You could choose to just make it a pin so you can remove it if you like, but I didn't want mine to be removable and I thought it might bauble around if it was pinned to the dress. Also, at this point I went ahead and slip stitched the straps to the very top of the casing. This step is optional but it does look more professional, and you already have a needle and thread out so why not throw on some Gilmore Girls and stitch your little heart out. It's super quick and makes a big difference!
 |
| This is what I call finished. But see below if you do not want a halter style. |
There are several options for the straps here. You could a) sew them down to the back of the dress as you did the front, b) sew button holes in the straps at various lengths to allow for growth and sew buttons on the inside of the back casing, or c) you can leave as is and tie as a halter. I like the halter look for the romper, but prefer the other options for the dress.
So that's it! Now you have an adorable little romper or dress for your baby girl! Feel free to post any questions or comments below!